DNF Puzzles | Mastering efficient glide
A smooth DNF glide is key to freediving efficiency: fewer strokes, more relaxation, and lower oxygen use. I break down glide phases—turns, kicks, strokes—and share tips to improve: body position, flexibility, and hydrodynamics.

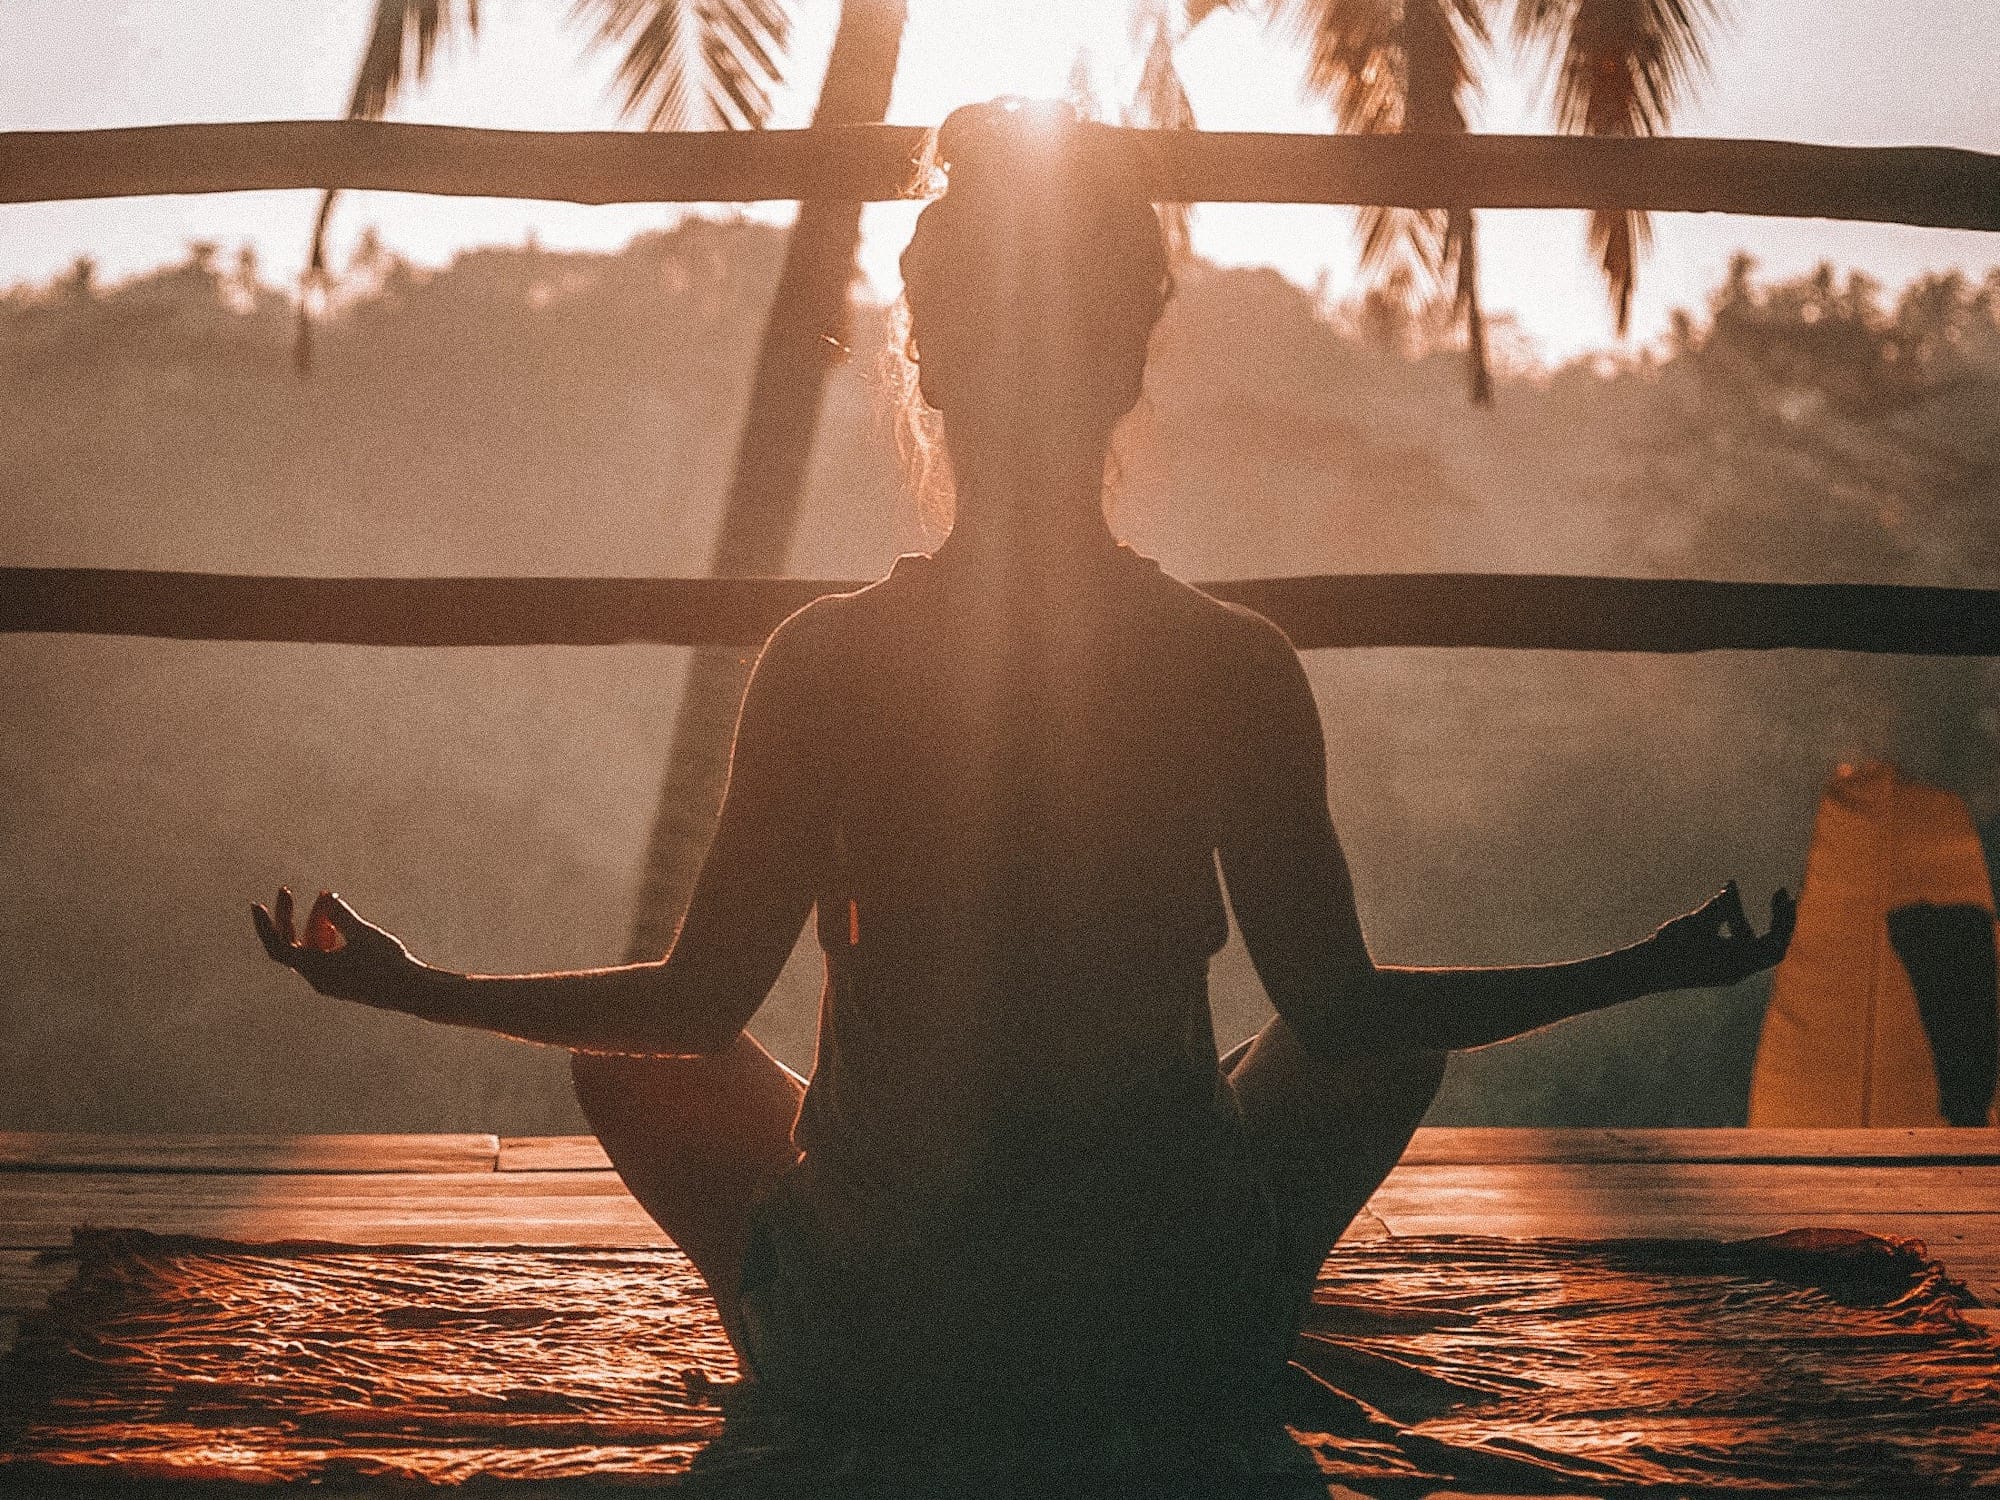
How long you can stay relaxed while freediving often depends on the quality of your glide. A smooth, efficient glide not only conserves energy but also helps you focus on body and mind relaxation. In this post, I’ll share my observations on different types of glides, their impact on my performance, and techniques I use to improve glide efficiency.
Why the Glide Matters
A longer glide means fewer strokes and kicks, which allows more time for your body and mind to relax between movements. I’ve noticed that when my strokes and kicks are smoother—not rushed—I can swim farther while using less oxygen. This translates to completing the same distance with less effort compared to quicker, stronger movements.
Three Types of Glide
I divide glide into three distinct phases, each with unique considerations:
Starting/Wall Turn Glide
- This is the longest glide phase, fueled by the energy generated from the turn or push-off (my glide distance is about 10-11 meters).
- Efficiency depends on the power of the turn, correct turn and body alignment.
- Relaxation is key—tight muscles can increase drag and burn oxygen unnecessarily. This applies to legs, feet, but also arms stretched above your head, head itself and neck.
- You can easily test your glide distance with some marker on the bottom to verify what adjustments impact your glide length.
Glide After Leg Kicks
- Following leg kicks, the focus shifts to maintaining good leg and foot position to minimize drag (for me, a well-executed leg kick generates about 4-5 meters of glide).
- Foot should be relaxed, toes put together.
Glide After Arm Strokes
- This stroke ends with arms positioned loosely along the body, ensuring minimal tension (my arm strokes generate a similar 4-5 meters of glide).
- Special attention is required to keep the arms, palms, and neck relaxed to avoid wasting energy.
In a typical 25m swim that takes me 55 seconds, approximately 40 seconds are spent gliding. This is the area where I anticipate to see biggest improvements.
Key Observations for Improving Glide
- Head Placement: The head should rest naturally between the arms, avoiding unnecessary tilting.
- Neutral Spine: The back should neither arch nor bend; aim for a neutral position.
- Feet and Legs: Feet should point backward for hydrodynamics, with ankles and leg muscles relaxed.
- Muscles should be trained regularly for greater flexibility
- Arm Strokes: Minimize turbulence with smooth, controlled strokes that flow naturally into the glide.
- Leg Kicks: Perform gentle, deliberate kicks to reduce splash and transition seamlessly into a passive glide (read more about leg kicks in DNF)
Here are some materials that you can find useful to practice your glides:
How Does My Glide Compare?
I’m curious to see how my glides stack up against those of other freedivers. Observing experienced athletes can provide valuable insights into glide techniques and posture adjustments.
Check out this materials for some great examples of efficient glides:
Here is how my glide looks like at the moment:
Tips to Improve Your Glide
- Flexibility Training: Focus on improving the flexibility of your arms, ankles, and feet for better hydrodynamics.
- Alignment Practice: Train with a weight in a short pool to mark your glide distance and refine your posture.
- Body Awareness: Keep ears touching your biceps, feet together, and arms stretched forward or loose at your sides.
- Glide Drills: Dedicate sessions specifically to practicing glides—start small and focus on efficiency over distance. Record yourself and compare videos with your previous glide and with masters.
- Hydrodynamics Check: Monitor for minimal splash or turbulence during transitions from strokes/kicks to glide.
Conclusion
Mastering the glide is a journey of balancing technique, relaxation, and efficiency. By focusing on improving my body position, minimizing drag, and staying relaxed, I’ve been able to make significant progress. While my observations work well for me, glide techniques are personal, and experimentation is key.
I’ll continue refining my glide and sharing insights here. How does your glide compare? Feel free to share your thoughts or tips—I’d love to hear them!
If you enjoy my blog and find the content helpful, consider supporting me with a one-time tip